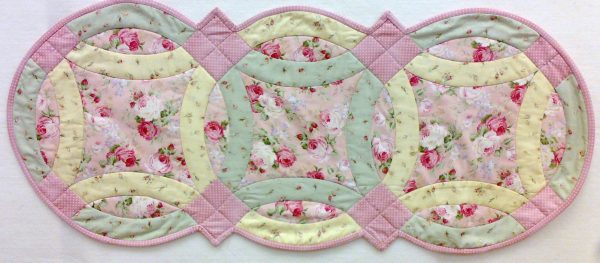
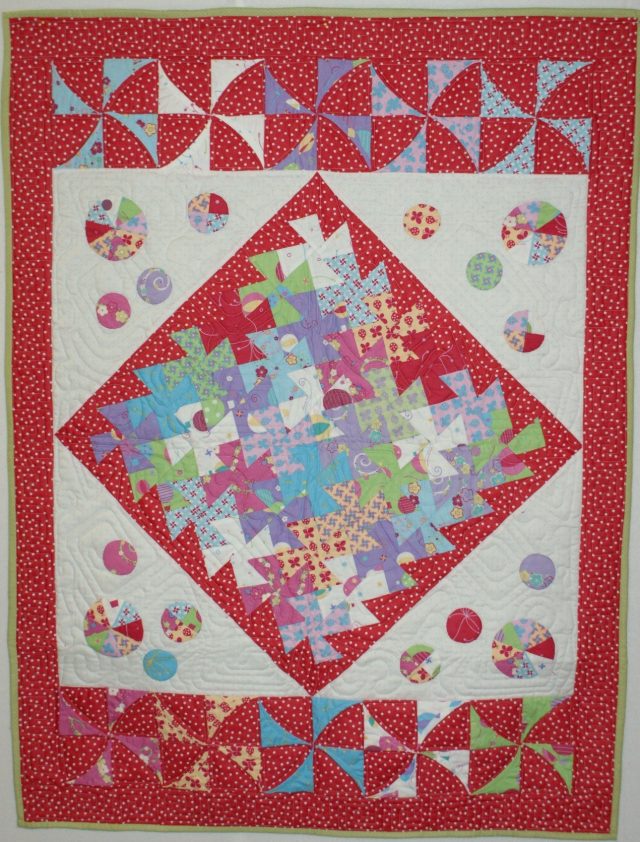
Patchwork is a traditional quilting technique that involves sewing small fabric pieces together to create a larger design, or as my husband says ‘cutting up material and sewing it back together again’.
The following steps are a general guide and mainly apply to quilts. Smaller projects such as bags and cushions may vary from these steps. If you are using a Little Red Jug pattern, the steps are detailed in the pattern.
This page contains affiliate links. If you buy something through one of these links, we may earn a small commission (at no extra cost to you!). Read our full disclosure policy here.
So what are the basic steps in patchwork?
Step 1: Design and Plan
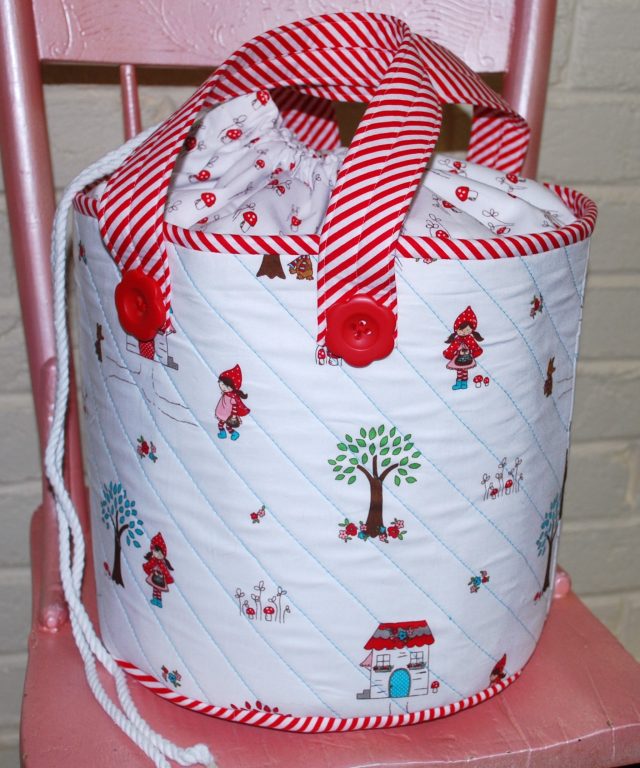
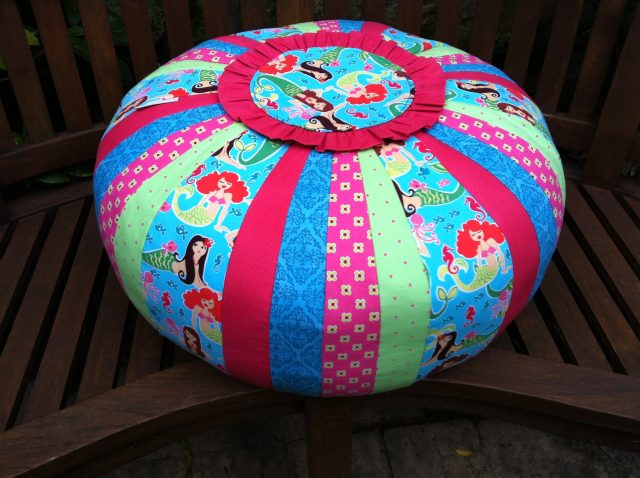
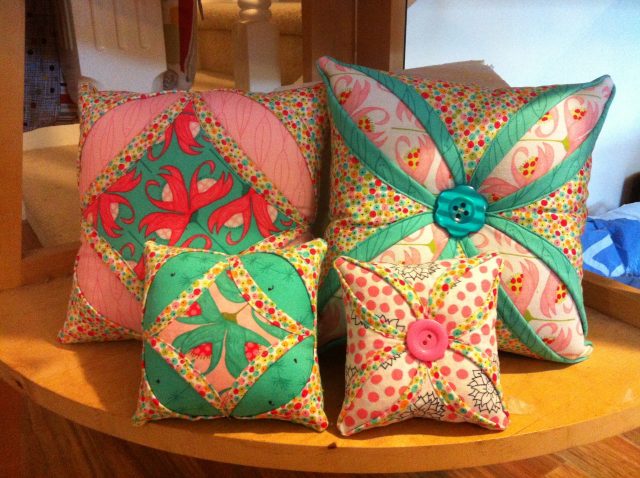
What do you want to make? There are so many things you make using patchwork, everything from a full bed quilt to a pin cushion.
When you have decided on the design you will need a pattern. You can use a pattern created by someone else or have fun creating your own.
Browse our Quilt Patterns and Small Project Patterns.
The pattern will then help you work out the size and number of pieces of fabric you’ll need.
Step 2: Get What You Need
Fabric:
This can be the hardest step and hopefully you have an idea of how you want your project to look.
It is also a great excuse to go shopping!
You may also want to look at your ever-growing stash and use that.
Left over scraps can be great for a smaller patchwork project such as a bag or cushion.
Scissors or rotary cutter: These are used to cut your fabric pieces and need to be sharp and even.
Ruler and cutting mat: These will help your measure accurately and cut precisely.
You will also need a cutting table. Make sure it is steady and doesn’t wobble. You will also need plenty of space. If you need to eat dinner on the lounge, so be it. Quilting is a much better use of the kitchen table.
Sewing machine and/or hand-sewing supplies: This is a personal choice, however, some of the more intricate patterns will require hand sewing.
Thread: Choose a thread colour that works well with your fabric.
Pins: You will need these to hold fabric pieces together while you sew. Larger pins with bright coloured heads will help you see them better when you use them to join the pieces together.
You will also need a pin cushion.
Iron and ironing board: Ensure you press your fabric before measuring, cutting and sewing your fabric so your seams end up neat and precise.
All of the notions you need are available through Quilting Books and Patterns, click below.

Step 3: Cutting Fabric
Remember to measure twice and cut once.
Use your scissors and/or rotary cutter and ruler to cut the fabric pieces according to your pattern.
Make sure your cuts are precise.
Step 4: Arranging Fabric
Lay out your cut fabric pieces on a flat surface so you can see how they will come together.
For large projects you can do this in stages, for example one block at a time for a quilt.
Once you are happy with the layout, pin the pieces together ready for sewing. Again, you don’t need to pin everything together in one go.
Step 5: Sewing
Sew the fabric pieces together. You’ll typically use a 1/4-inch seam allowance, but this may vary depending on your pattern or personal preference.
You can sew fabric pieces together in rows or blocks, depending on your design.
Be sure to backstitch or lock your stitches at the beginning and end of each seam to secure them.
Step 6: Pressing Seams
After sewing each seam, press it to set the seam to keep the patchwork lying flat and looking neat.
Step 7: Pulling it All Together
Continue sewing fabric pieces together, following your pattern or design, until you’ve created the entire project. For larger projects such as quilts, this involves piecing together all of your blocks or strips.
Small projects such as bags and cushions will need to be assembled. Follow the instructions inyour pattern or design.
Step 8: Adding Borders (if in the pattern of design)
Many patchwork designs look great with borders to frame the work. This especially applies to larger projects and quilts.
Measure and cut the border strips, sew them to the quilt top, and press the seams.
Step 9: Quilting – Layering and Binding
The quilting required will depend upon what you have created. Many small projects such as bags and cushions needs to be quilted ‘as you go’, so that each part is quilted before assembly.
Layer your patchwork project with batting and backing fabric to create a quilt sandwich.
Quilt the layers together using your chosen quilting technique, whether it’s hand quilting, machine quilting, or tying.
After quilting, trim the excess batting and backing fabric.
Bind the edges of the quilt to finish it. This involves sewing a binding strip around the outer edges to encase the raw edges.
If you do not want to quilt your project yourself, we can help.
Step 10: Finishing
All you need to do now is give your finished quilt a final press.
Congratulations, your patchwork quilt is now complete and ready to be used or proudly displayed!
These are the fundamental steps in patchwork, but remember that the complexity of your project may vary depending on the design and techniques you choose to use. Patchwork offers endless possibilities for creativity, and with practice, you can create beautiful and unique fabric creations.
More importantly, have fun!